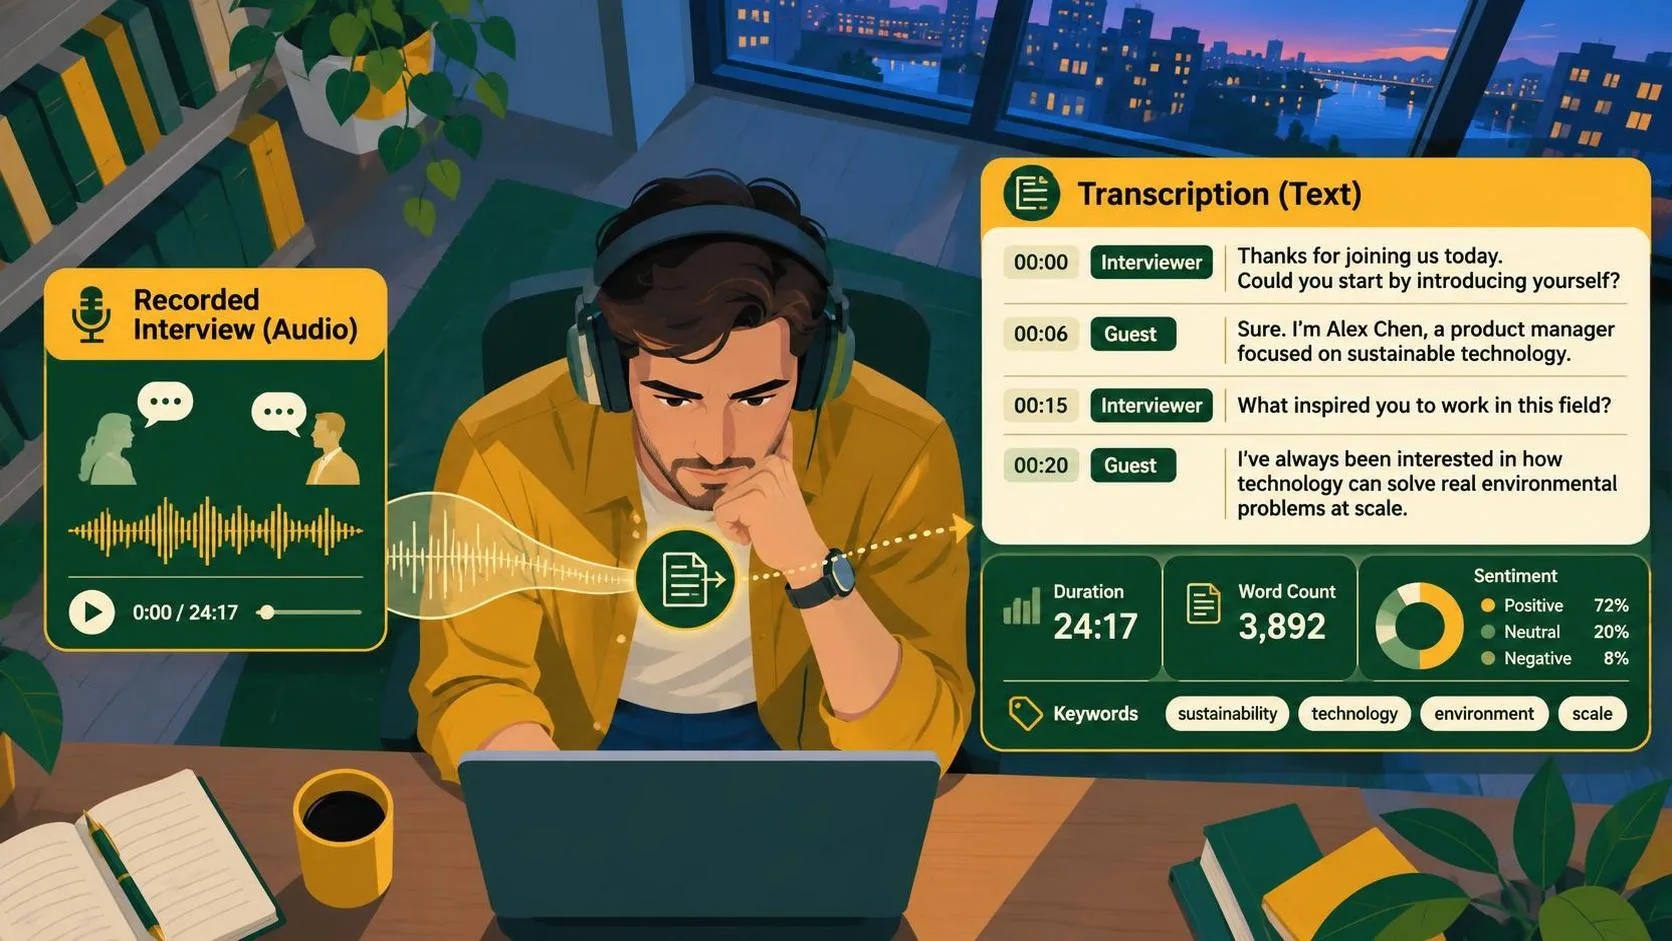
To transcribe audio recording to text, upload an audio file to a Gemini interface that supports audio input, ask for a verbatim transcript, and review the result against the recording. For a repeatable workflow, use the Gemini API to submit the file and save the response. In either case, treat the output as a draft: names, numbers, overlapping voices, and quiet passages need human review.
Start with a file and a specific prompt
Gemini is a useful starting point if you also want to summarize or query the transcript. Google Docs voice typing suits someone dictating live rather than processing an existing file, while OpenAI Whisper is an option for developers who want to run transcription locally. For a recorded interview that you need to search and summarize, I would start with Gemini and keep the original audio for verification.
First, make sure you have permission to process the recording, especially if other people are speaking. Save a copy in a supported audio format and note its duration, language, and number of speakers. Audio support and upload limits vary by interface and model, so check the relevant Google documentation before starting with a long file.
In Gemini, attach the recording if the interface offers audio upload. Then use a prompt like this:
“Transcribe this recording verbatim in the original language. Include filler words and false starts. Use Speaker 1 and Speaker 2 only when the speaker changes are clear. Mark uncertain words as [unclear]. Do not summarize, translate, or guess names.”
The distinction between verbatim transcription and a cleaned-up transcript matters. If you ask for a polished version immediately, a model may remove repetitions or repair incomplete sentences. That can be useful for meeting notes, but it makes the result less reliable as a record of what was actually said.
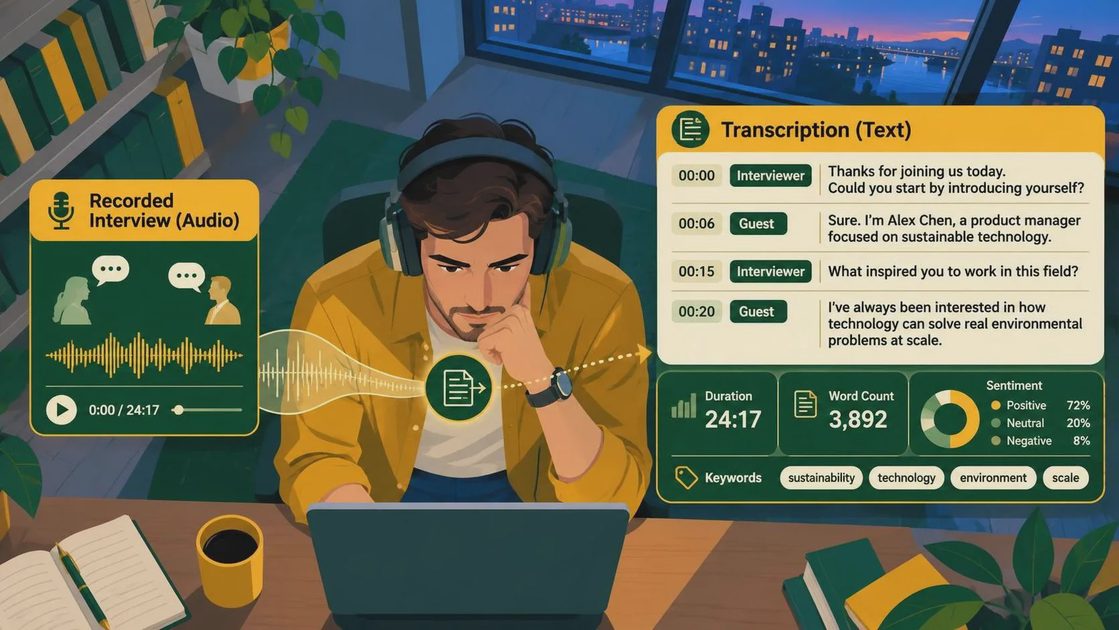
How to transcribe audio recording to text through the API
For an application, the smallest useful pipeline has three steps: upload the audio, ask a model to transcribe it, and save the returned text alongside a reference to the source file. Google's Gemini API supports audio input, but model availability, supported formats, file limits, and pricing can change. Check the Gemini API audio and Files API documentation for the model and SDK version you plan to use.
Set up a Google AI Studio API key in an environment variable rather than putting it in source code. Install Google's Gen AI SDK in your Python environment, then upload the recording through the Files API and pass the uploaded file to a model's content-generation request with the prompt above. Save the response as UTF-8 text, and record which model and prompt produced it.
That is deliberately an implementation outline rather than a copy-paste code sample: SDK methods and supported model identifiers can change, and a complete example should be checked against the documentation for the version you install. For a single short recording, an interactive upload is simpler. The API earns its setup cost when you need to process many files, integrate with another system, or rerun the same instructions consistently.
Budget for both audio processing and any later requests to summarize or analyze the transcript. Pricing depends on the model and how the service accounts for input and output; look at the relevant pricing page and set a spending limit or alert before running a batch. Don't assume that uploading the same recording repeatedly is free.
Review the parts most likely to be wrong
Listen to the recording while reading the transcript, ideally with a player that lets you pause and jump backward. Start with names, email addresses, dates, monetary amounts, and technical terms. A plausible-looking number can be wrong without standing out, so compare it directly with the audio rather than relying on context.
Speaker labels deserve the same skepticism. A model may confuse people with similar voices or assign overlapping speech to one person. If attribution matters, use neutral labels and correct them manually; don't infer an identity from a voice. Likewise, ask for an uncertainty marker, but don't assume every uncertain passage will be flagged.
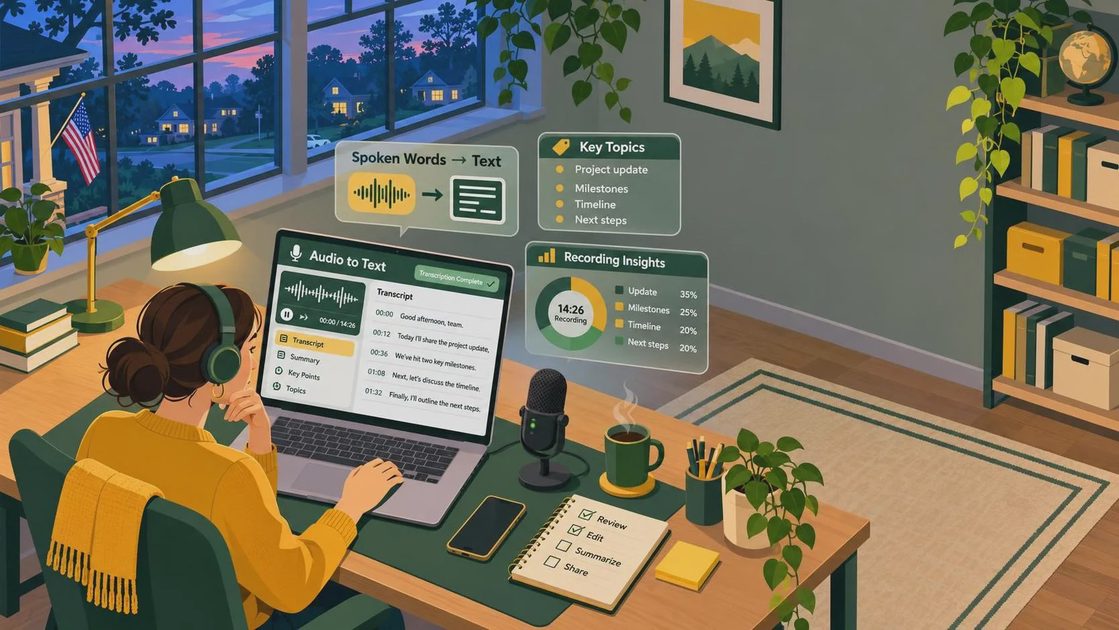
For longer recordings, splitting the audio into manageable sections can make review and retries easier. Cut at natural pauses when possible, and retain the start time of each section so you can locate a passage in the original. A little overlap between adjacent sections can protect words at a boundary, but it also creates duplicate text that you'll need to remove. Check that speaker labels remain consistent across sections.
Timestamps are useful for navigation, but generated timestamps may not align precisely with the audio. Treat them as approximate unless you have checked them against a player or used an alignment tool. For legal, medical, or other high-stakes use, arrange an appropriate human review rather than treating a model transcript as an authoritative record.
Protect the recording and make the result usable
Before uploading, confirm that your account and service settings are appropriate for the recording's sensitivity. Review the provider's applicable data-use, retention, and regional terms; an individual Gemini interface, the Gemini API, and a cloud enterprise deployment may have different terms. If those terms don't meet your requirements, consider an approved local transcription workflow instead.
Keep access to both audio and transcripts limited. A transcript is often easier to search, copy, and accidentally share than the original recording. Set a retention period, remove uploaded files when they are no longer needed, and avoid putting confidential audio or API keys into public repositories. Follow your organization's rules for consent and retention as well as applicable law.
For a production workflow, store the original transcript separately from any edited version or summary. Record the source file, processing date, model identifier, prompt, and reviewer status. If a request fails, retry that file rather than silently marking it complete; log the error without copying sensitive transcript content into general-purpose logs.
The demo is easy. The edge cases are the real tutorial: poor audio, uncertain attribution, unexpected costs, and data handling determine whether this workflow is useful beyond one file. Start with a short, non-sensitive sample, compare the output with the recording, and only then expand to a larger batch.