
The fastest way to understand Gemini is to send a real request and read the response. This tutorial walks through the smallest complete example that actually works: installing the client, setting an API key safely, making a text generation call, and handling the basic error cases you will hit on day one.
I ran every snippet below from a clean virtual environment on a fresh machine. Model identifiers and package versions are noted so you can reproduce the same results. The goal is not the most advanced client. The goal is a working foundation you can trust before adding structured output, tools, or retrieval.
Prerequisites and Setup
You need:
Python 3.10 or newer
A Google AI Studio or Vertex AI API key with Gemini access
The official google-generativeai package (or the Vertex AI SDK if you are already on Google Cloud)
Create and activate a virtual environment, then install the client:
python -m venv .venv
source .venv/bin/activate   # Windows: .venv\Scripts\activate
pip install google-generativeai
Never hard-code the API key. Use an environment variable:
export GEMINI_API_KEY="your-key-here"In code, load it once at startup:
import os
import google.generativeai as genai

genai.configure(api_key=os.environ["GEMINI_API_KEY"])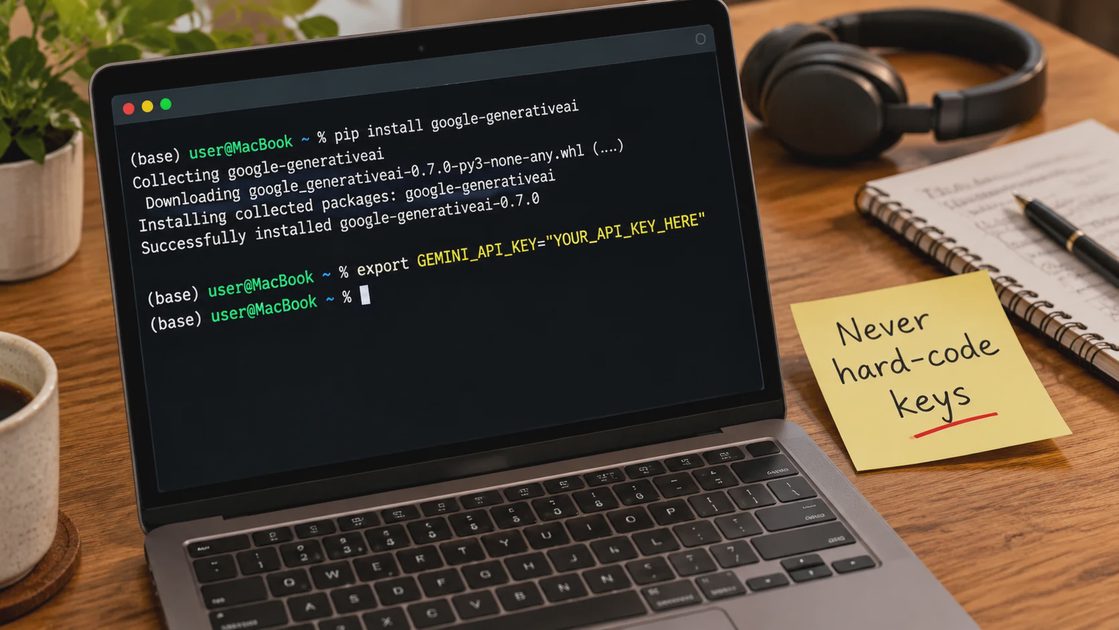
The Smallest Working Request
Here is the complete script that sends a single prompt and prints the text response:
import os
import google.generativeai as genai

genai.configure(api_key=os.environ["GEMINI_API_KEY"])

model = genai.GenerativeModel("gemini-1.5-flash")
response = model.generate_content("Explain what a context window is in one short paragraph.")

print(response.text)
That is the entire happy path. On a typical connection the call returns in under a second for Flash models.
Handling the Response Object
The response object contains more than just text. Useful attributes include:
response.text – the concatenated text parts
response.candidates – full candidate list with safety ratings
response.prompt_feedback – blocked or filtered information when present
I always print response.prompt_feedback during early testing. It is the fastest way to discover when a prompt is being filtered before you spend time debugging downstream logic.
Common First-Day Errors
Three errors appear repeatedly for new users.
Error symptom | Likely cause | Fix |
|---|---|---|
DefaultCredentialsError | API key not loaded | Check environment variable name and export |
404 or model not found | Wrong model identifier | Confirm exact model name in current docs |
Empty or blocked response | Safety filters or empty prompt | Inspect prompt_feedback and simplify input |
When the response is empty, do not assume the model failed. Check the feedback object first. Many “silent” failures are actually safety or policy blocks that the client surfaces in structured form.

Adding Minimal Production Hygiene
Even a first tutorial should include three habits that prevent later pain:
Wrap the call in a try/except that logs the full exception and the model name.
Set a short client-side timeout so a stalled request does not hang the process.
Log the approximate token counts when the API returns them so you can track cost early.
A slightly more robust version looks like this:
import os
import google.generativeai as genai
from google.api_core import exceptions

genai.configure(api_key=os.environ["GEMINI_API_KEY"])
model = genai.GenerativeModel("gemini-1.5-flash")

try:
    response = model.generate_content(
        "Explain what a context window is in one short paragraph.",
        request_options={"timeout": 30}
    )
    print(response.text)
except exceptions.GoogleAPIError as e:
    print(f"API error with model {model.model_name}: {e}")
This pattern is still only a few lines long, but it already behaves better under real network conditions. I also recommend printing the model name and a short timestamp on every call during early development. When you later look at logs from a failed experiment, that context saves time.
Another small habit that pays off quickly is keeping a one-line comment above the model instantiation that records the date and the exact model string you tested. Model identifiers change. A comment written on the day of the test is more reliable than memory three weeks later.
What Worked / What Failed / What I Would Change
What worked
The official Python client is straightforward. Environment-variable key loading and the basic generate_content call are reliable for getting started. The response object is rich enough that you can inspect safety feedback without extra libraries.
What failed
Early on I used an outdated model identifier that still appeared in older blog posts. The error message was clear once I looked, but it cost an unnecessary debugging cycle. I also initially forgot to activate the virtual environment and spent time chasing import errors that had nothing to do with Gemini.
What I would change in production
I would move the model name into configuration, add structured logging of token usage, and introduce a thin wrapper that retries on transient 5xx errors with exponential backoff. Those changes belong in the next article, not the first one. For a first tutorial the priority is a working call and clear error handling, not a full production client.
I tried it first. You can just copy the script above and have a working Gemini call in under five minutes. Once that works, the rest of the series builds on the same foundation.