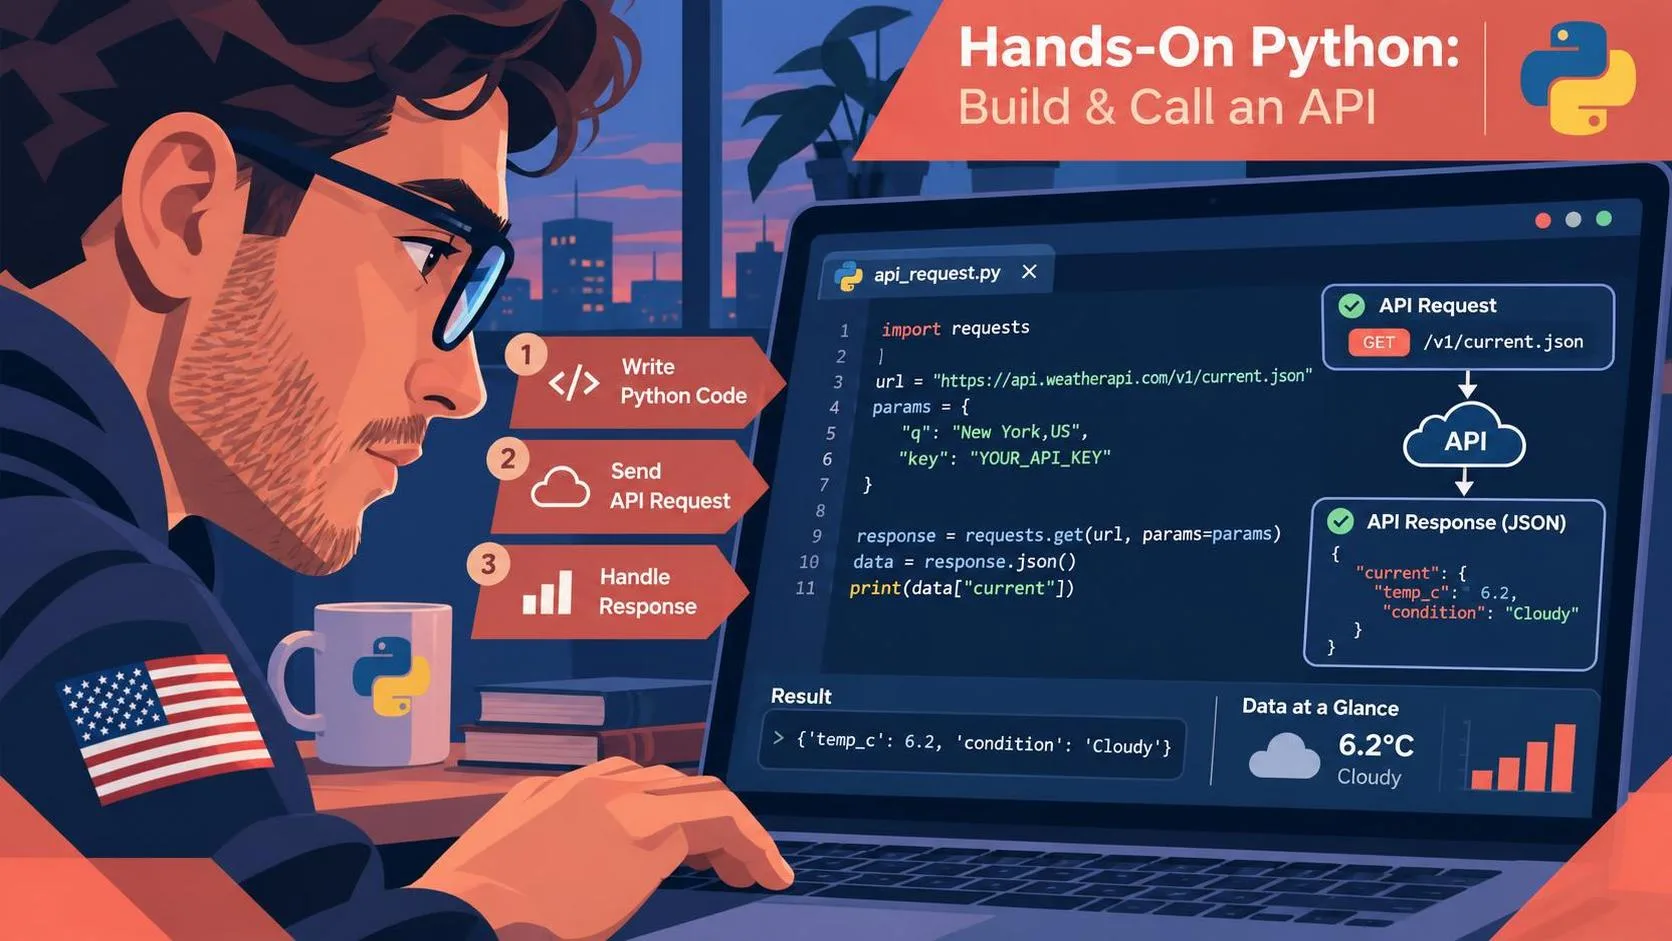
This SiliconFlow API Python tutorial walks through a minimal chat request using the OpenAI Python SDK with SiliconFlow’s API endpoint. You’ll set an API key and a model ID as environment variables, send a message, and print the response. You don’t need an OpenAI API key for this example: the SDK is the client library, while SiliconFlow is the provider receiving the request.
The example below is a reproducible starting point, not a claim of a live test. Model availability, account requirements, and pricing can change, so confirm the endpoint and model ID in your SiliconFlow account before running it.
What you need before writing Python
You’ll need Python, a SiliconFlow account, an API key, and access to a chat-compatible model. Create the key through your account dashboard and check whether your chosen model requires a funded balance or any additional access. Copy the model’s exact ID from SiliconFlow’s model catalog; a display name alone may not work in an API request.
Open a terminal in a new project directory and create a virtual environment. On macOS or Linux, run:
python3 -m venv .venv
source .venv/bin/activate
On Windows PowerShell, use python -m venv .venv followed by .venv\Scripts\Activate.ps1. If PowerShell blocks activation, follow your organization’s execution policy rather than changing security settings blindly.
Install the client library with:
python -m pip install openai
A virtual environment keeps this dependency separate from other projects. If the install fails, first check that python points to the interpreter you intend to use. The command python --version is a quick way to inspect it.
Configure the SiliconFlow API Python tutorial
Set two environment variables in the same terminal where you’ll run the script. On macOS or Linux, use the following commands, replacing the placeholder values with your actual key and model ID:
export SILICONFLOW_API_KEY='your-api-key'
export SILICONFLOW_MODEL='your-chat-model-id'
In PowerShell, set them with $env:SILICONFLOW_API_KEY = 'your-api-key' and $env:SILICONFLOW_MODEL = 'your-chat-model-id'. These values apply to the current shell session; a new terminal generally needs them set again.
Treat the key like a password. Don’t put it in a script, commit it to Git, or paste it into an issue when asking for help. For a deployed application, use your hosting platform’s secret manager or equivalent protected configuration. If a key leaks, revoke or rotate it in the provider dashboard.
The example uses https://api.siliconflow.com/v1 as the base URL. SiliconFlow may offer different service regions or account configurations, so verify the base URL in the documentation for your account. The SDK adds the chat-completions path to that base URL; don’t append it yourself.
Send a minimal chat request
Here’s the smallest version to try without creating a separate Python file. With the environment variables set, paste this single line into your terminal:
python -c 'import os; from openai import OpenAI; client = OpenAI(api_key=os.environ["SILICONFLOW_API_KEY"], base_url="https://api.siliconflow.com/v1"); response = client.chat.completions.create(model=os.environ["SILICONFLOW_MODEL"], messages=[{"role":"user","content":"Explain vector embeddings in two sentences."}], max_tokens=128); print(response.choices[0].message.content)'
The command uses shell quoting intended for macOS and Linux. For PowerShell, save the Python statements inside the outer single quotes to a file named app.py, remove those outer quotes, and run python app.py. Keep the double quotes inside the Python code.
The request sends one user message and asks for a response capped at 128 tokens. A token is a piece of text, not necessarily a whole word. The model ID tells SiliconFlow which model to run; the response object contains the returned choices, and the example prints the first choice’s message content.
A successful run should print a short explanation. The exact wording will vary. If you need a different endpoint, replace the base URL in the command with the one documented for your account. Check the model’s documentation before assuming it supports every OpenAI-style parameter or response feature.
Diagnose the first failure
A missing environment variable produces a Python KeyError before any request is sent. Confirm the variable name and set it in the same shell session. You can check whether the key is present without printing it by running python -c 'import os; print(bool(os.getenv("SILICONFLOW_API_KEY")))' in a macOS or Linux terminal.
An authentication error usually points to an invalid, revoked, or incorrectly copied key. Check the provider dashboard and make sure the key belongs to the service and endpoint you’re calling. Avoid troubleshooting by posting the full key or request headers.
A model-not-found or access error calls for a different check: copy the exact model ID again, verify that your account can use it, and confirm that it supports chat completions. An account balance or billing restriction can also prevent a request from succeeding. Read the error message and account dashboard before changing code.
Rate-limit and server errors are different from a bad key or model ID. For temporary failures, retry with a delay and a small maximum number of attempts. Don’t retry authentication failures indefinitely. A timeout can leave you uncertain whether the provider processed a request, so account for possible duplicate work and charges when retrying.
Move from a terminal demo to an application
Once the request works, put the client setup and request in a Python module rather than keeping a long shell command. Read the key and model ID from environment variables at startup, validate that both exist, and surface a clear configuration error if either is missing. That makes local development and deployment failures easier to distinguish from provider errors.
Set a timeout appropriate to your application and handle SDK exceptions around the request. For transient errors, use bounded retries with exponential backoff and jitter. For user-facing software, show a useful error instead of returning an empty answer or exposing the raw provider response.
Costs depend on the selected model, token usage, and the provider’s pricing terms. Check the model’s rates before processing a large batch, and inspect response usage information when it is returned. Limiting output tokens helps bound response length, but it doesn’t eliminate the cost of input tokens or guarantee that a request will fit a model’s context limit.
Finally, treat model output as untrusted data. Validate structured results before using them, and never execute generated code or pass generated instructions into privileged systems without appropriate controls. If prompts contain sensitive information, review the provider’s data-handling terms and your organization’s policy before sending them.
What to verify before shipping
The intended working path is straightforward: configure a provider key, select an available chat model, and call the compatible endpoint through the SDK. This article does not report a live test or claim that a particular model was available on a particular date.
If the demo fails, capture the error type, endpoint, model ID, and time of the request without recording secrets or sensitive prompt text. In production, I’d add request-level logging, spending alerts, bounded retries, and a small evaluation set for the actual task. That turns a successful hello-world response into an integration you can monitor and maintain.